When it comes to Old Masters, it is questions of attribution that tend to excite both buyers and sellers the most. Everything depends on whether a painting is “right”. But often something just as important is overlooked: the question of its condition. A painting can be as right or as wrong as it likes, but if it is in terrible condition, or has been restored to within an inch of its life, then the attribution might as well not matter.
How, then, can a picture’s condition best be assessed? What should a potential buyer look for as telltale signs of a picture that has been badly looked after? And what can be gained from being able to spot, even at a glance, which parts are original and which are not?
Before we get into the “how-to” element of identifying condition, it is worth understanding why pictures can become damaged in the first place. Time, fire and water are of course bad for any painting’s health. But the sad fact is that two groups of people have done more damage to paintings than anything else: those who sell art and those charged with looking after it.
First, the dealers (among whom I number). Here are just a few examples of maltreatment. In the 19th and early 20th centuries, oval paintings were deemed unfashionable, so they were either cut down or extended into rectangles by adding on bits of canvas. If elements of a painting were thought to be too uncommercial or over-sensitive they were painted out. (Nipples top the list here.) The notorious art dealer Joseph Duveen (1869-1939) would add so many layers of varnish to a picture that clients could see themselves reflected in the surface. In the 19th century, another British dealer, William Buchanan (1777-1864), used to clean pictures with his penknife.

Yet it is probably “conservators”—a term I use lightly here—who have caused the most damage to pictures over the centuries. Until the 20th century, the task of looking after pictures in a collector’s mansion was often given to the housemaid. Half a potato, stale urine or a rough cloth were used to “clean” pictures, which could cause considerable abrasion by washing away dark pigments (which are softer than brighter colours, often made with tougher lead-white).
The advent of trained conservators from the late 19th century did not always lead to a general improvement in the way pictures were cared for. At first, many conservators were artists, and to them the answer to a damaged or over-cleaned painting was simple: overpaint it liberally. Fortunately, conservation techniques have since improved. But each generation tends to convince itself that it knows how to “fix” paintings best, sometimes with disastrous consequences. In the first half of the 20th century there was a fashion for transferring panel paintings onto canvas. Many panel painting in the Hermitage Museum in St Petersburg were shaved down to the paint layer, with the plane or chisel frequently slipping straight through. Similarly, “wax relining” was all the rage after the Second World War. This involved the physical heating and ironing of a paint surface onto another canvas. Impasto that should stand proud on the paint surface would be squashed flat like a piece of roadkill. And over time the wax, conservators later discovered, seeps through into the paint layers, darkening them irreparably.
Things are generally much better today, although occasionally mistakes are still made. To combat the yellowing characteristics of traditional organic varnish, new synthetic varnishes have been developed. They work, insofar as they don’t turn yellow over time. Instead, they tend to go grey.
The good news is that it is not too difficult, with practice, to be able to identify how a painting might have suffered over the years just by looking at it with the naked eye. An overly harsh relining can be detected with a simple tap on the canvas; if it feels hard like a plank it will have been wax relined. The holy grail when it comes to assessing condition is, however, the ability to identify overpaint. Many “sleepers” or discoveries have involved questions of condition. A picture’s true quality (and thus its attribution) can easily be obscured by the later interference of another artist or a bad restorer.

Long, hard look Until relatively recently there was little taste for unfinished paintings. This meant that pictures that may simply have been abandoned by an artist, or were created as studies for use in their studio and never intended to be sold, would be “finished” by a later artist to make them more saleable. This was often the fate of head studies by the likes of Rubens and Van Dyck. A giveaway of these works is when one area (say the head of a portrait) is demonstrably better than the rest. And yet it is the work of the lesser artist that will make experts or auction house specialists doubt the attribution of the whole picture.
More recently, overpaint of a different kind can be used to disingenuously mask the true condition of a picture. This is not to say that careful retouching of damaged areas in a painting is wrong or unethical—far from it. But occasionally some conservators, perhaps egged on by dealers and owners, can get carried away and cover large swathes of a painting with retouching that is hard to spot. It is important in such cases not to rely on ultra-violet (UV) lamps; these only show the more recent layers of retouching and, even then, if a dark retouching media is used, a UV light will not reveal it. Furthermore, some conservators have been known—or perhaps obliged—to use a “screening” varnish, which reflects (like sunscreen) UV light, making it impossible to see any retouching.
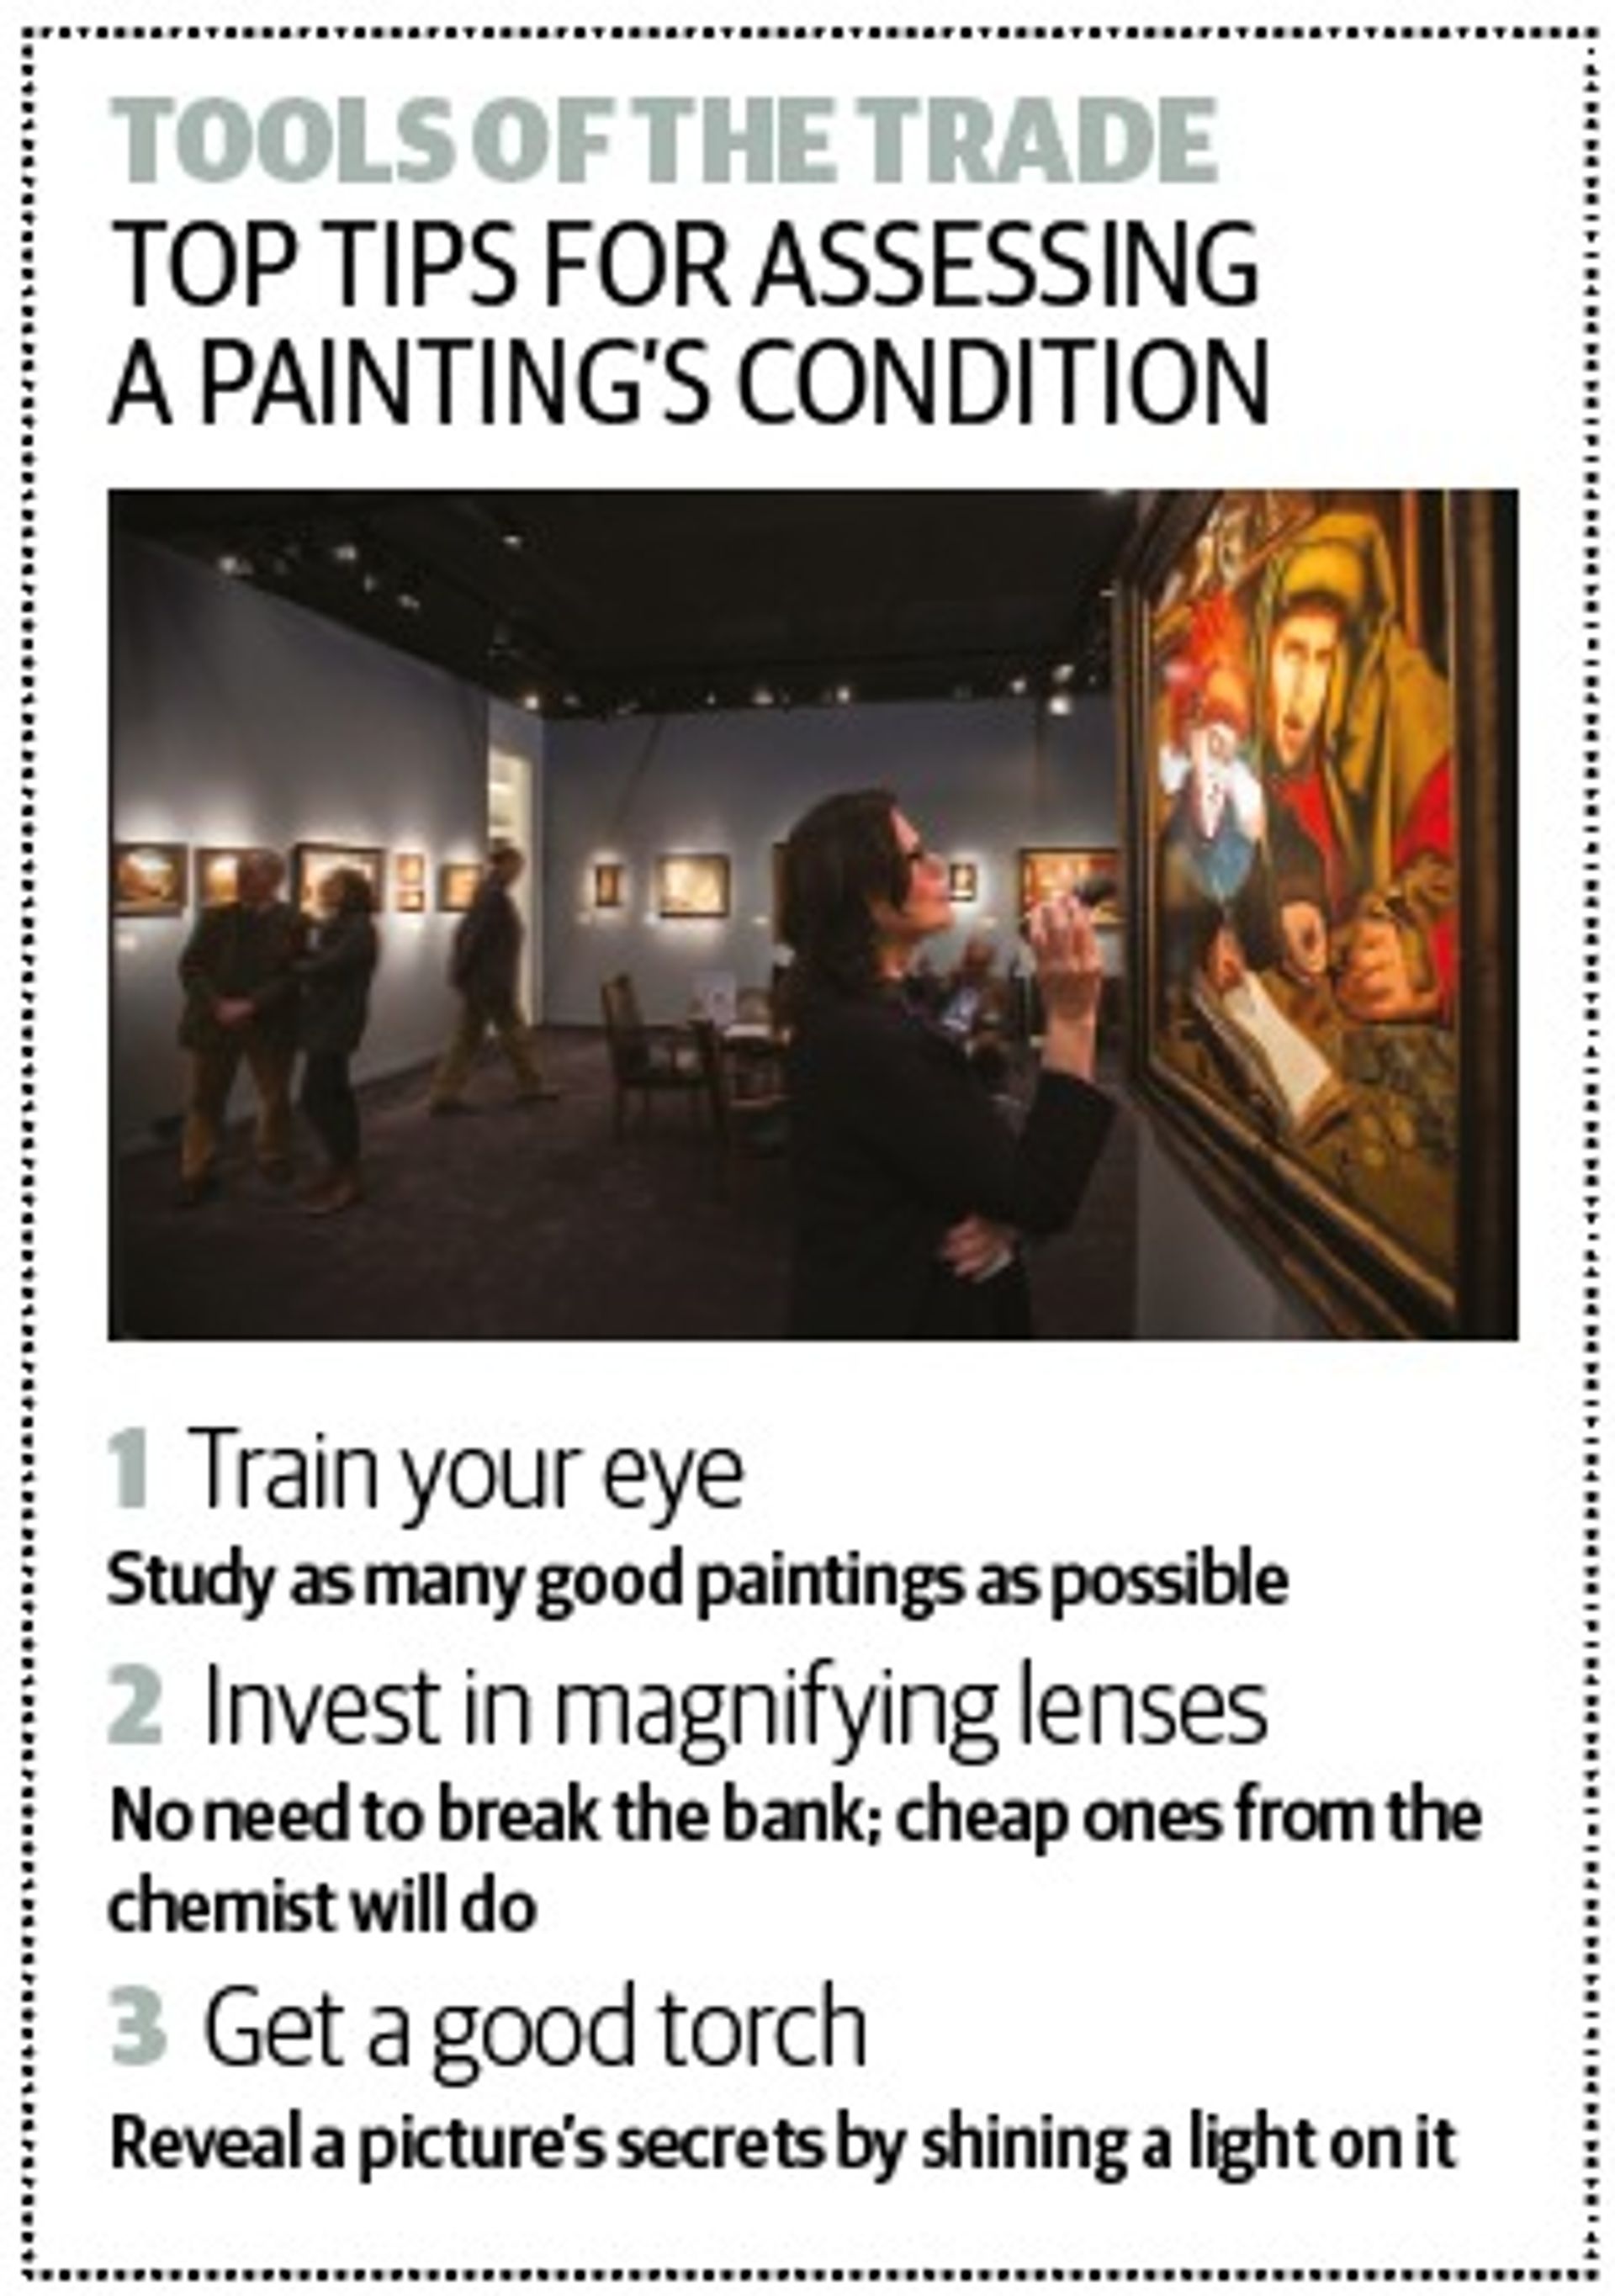
The solution to all this is simple, and requires just three things. First, time—to study as many paintings in good and bad condition as you can. Second, some magnifying lenses—I use those cheap reading glasses sold in pharmacies. And finally, a good torch. If you are prepared to look at a painting close enough, for long enough, it will reveal all its secrets.


